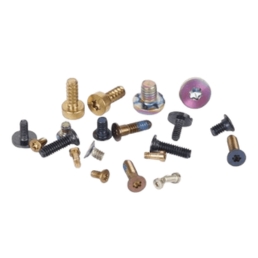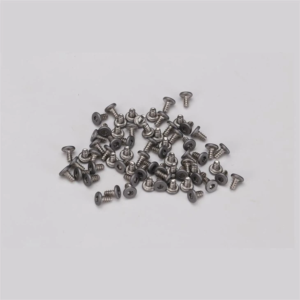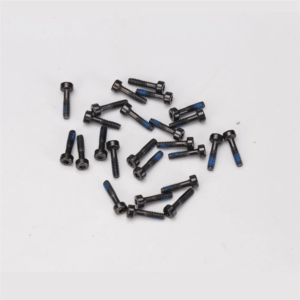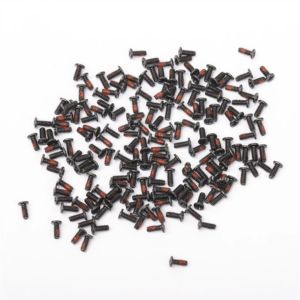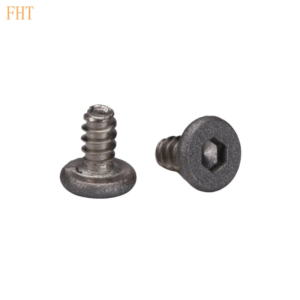
Precision screws play a crucial role in various devices and structures, from delicate electronic gadgets to high – end machinery. When these tiny yet vital components start to loosen, it can lead to a range of issues, from minor malfunctions to significant performance problems. Here’s a comprehensive guide on how to troubleshoot loose precision screws.
Table of Contents
1. Understanding the Causes of Loose Precision Screws:
Before jumping into troubleshooting, it’s essential to understand why precision screws become loose in the first place. One common reason is vibration. In devices that are constantly in motion, like certain industrial equipment or even some handheld tools, the continuous shaking can gradually loosen the screws over time. Another factor is thermal expansion and contraction. When a device is exposed to varying temperatures, the materials it’s made of expand and shrink. This can cause the screw holes to change shape slightly, leading to a loose fit for the screws. Additionally, improper installation is also a frequent culprit. If the screws are not tightened to the correct torque during assembly, they are more likely to come loose later on.
2. Visual Inspection: The First Step:
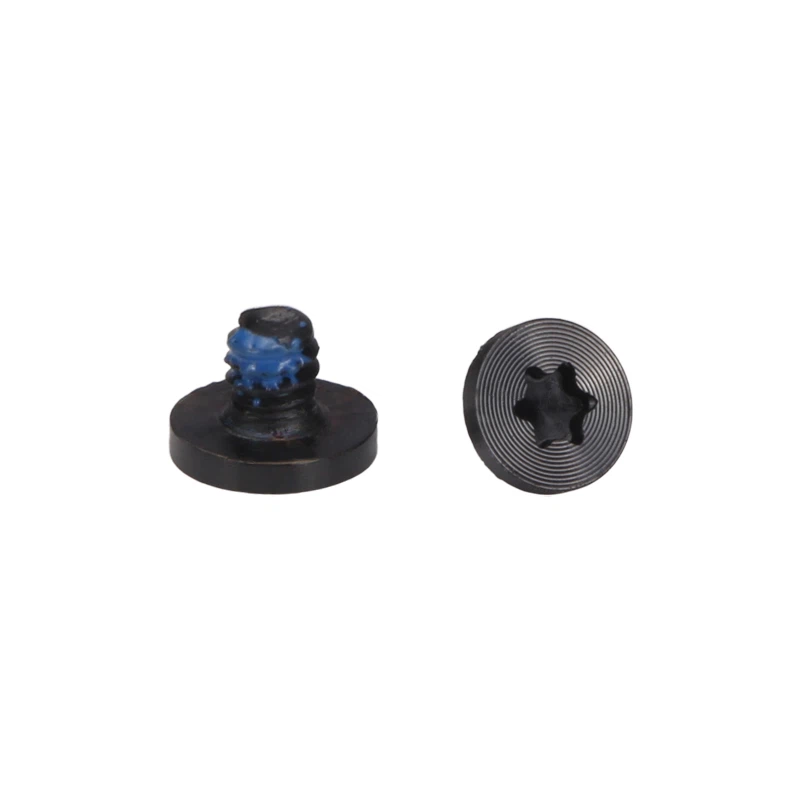
The initial step in troubleshooting loose precision screws is a thorough visual inspection. Start by carefully examining the device or structure where the screws are located. Look for any obvious signs of movement or separation around the screw heads. You might notice gaps between the screw head and the surface it’s supposed to be flush with. Also, check if the screw threads are visible outside the hole, which is a clear indication that the screw has loosened. Pay attention to any discoloration or damage around the screw area, as this could suggest other underlying problems that might have contributed to the loosening.
3. Checking for Vibration Sources:
If the visual inspection reveals loose screws, the next step is to determine if vibration is the root cause. Consider the operating environment of the device. Is it placed near a source of constant vibration, such as a large motor or a busy road? If so, try to isolate the device from the vibration source. This could involve using vibration – dampening materials like rubber pads or shock – absorbing mounts. In some cases, repositioning the device to a more stable location might be the solution. For devices that are designed to be mobile, like certain handheld tools, check if the internal components are properly secured to reduce the amount of vibration transmitted to the screws.
4. Addressing Thermal Issues:
Thermal factors can also cause precision screws to loosen. If the device operates in an environment with significant temperature fluctuations, it’s important to take this into account. One approach is to use screws made of materials with a similar coefficient of thermal expansion as the surrounding components. This helps ensure that as the temperature changes, both the screw and the hole expand and contract at a similar rate, maintaining a tight fit. Another option is to apply a thread – locking compound. These compounds are designed to prevent screws from loosening due to vibration or thermal cycling. They come in different strengths, so choose one that is appropriate for the specific application. Apply a small amount of the compound to the screw threads before installation and tighten the screw to the recommended torque.
5. Re – tightening the Screws:
If the loose screws are simply a result of improper initial installation or have loosened over time without any other significant underlying issues, re – tightening them might be the solution. However, it’s crucial to use the correct tools and follow the proper torque specifications. Using a torque wrench is highly recommended as it allows you to apply the exact amount of force required to tighten the screw without over – tightening, which can damage the threads or the surrounding components. Refer to the device’s manual or technical specifications to find the correct torque value for each screw. When re – tightening, make sure to clean the screw threads and the hole to remove any debris or old thread – locking compound that might interfere with a proper fit.
6. Replacing Damaged Screws or Components:
In some cases, the loose screws might be a symptom of a more serious problem. If during the inspection you notice that the screw threads are stripped or the hole is enlarged, simply re – tightening the screw won’t solve the issue. In this scenario, you may need to replace the damaged screw with a new one of the same size and specification. If the hole is enlarged, you might have to use a larger screw or fill the hole with a suitable material, such as an epoxy filler, and then re – drill it to the correct size for a new screw. Additionally, if the surrounding components are damaged and are contributing to the screw – loosening problem, they should also be replaced to ensure a long – term solution.
7. Regular Maintenance to Prevent Future Issues:
Once you’ve resolved the issue of loose precision screws, it’s important to implement a regular maintenance schedule to prevent it from happening again. This includes periodic visual inspections of all the screws in the device or structure. Check for any signs of loosening, damage, or wear. Also, consider re – applying thread – locking compound at regular intervals, especially for devices that are exposed to vibration or thermal cycling. By staying proactive with maintenance, you can extend the lifespan of your devices and ensure they continue to operate at their optimal level.
In conclusion, troubleshooting loose precision screws requires a systematic approach. By understanding the causes, conducting a thorough inspection, and taking appropriate actions such as addressing vibration and thermal issues, re – tightening, replacing damaged parts, and implementing regular maintenance, you can effectively solve this common problem and keep your devices running smoothly.